I’ve been getting a lot of questions from friends and family about good air cooling builds that will stand the test of time.
No one wants to build something, only to have it become obsolete in a couple of years.
In my opinion, this means OCing as far as possible on as little as possible. It’s not too much work, so I don’t mind doing it, but there is definitely a level of diminishing returns you hit after reaching a certain point. Mainly due to temperature limitations and instability issues.
While we can’t do much about the instability, the temperature is definitely something we can keep under control.
The idea here is to reach a perfect sweet spot between price, performance, and noise levels where all three are optimized for each other, not competing with each other.
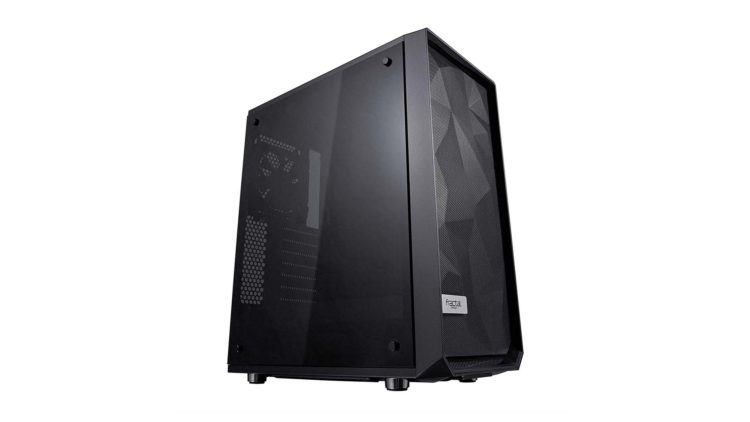
I chose the Meshify C case because of its unique design that offers very clean lines and spaciousness without looking like an ostentatious show-off. So, let’s get into the ideal fan setup for your Meshify C case.
Meshify C Fan Setup for Ideal Cooling
The Meshify C fan setup should have 3 120mm fans in the front, pulling cool air in, another two 140mm exhausts on top with an AIO water cooling system, as well as a rear 120mm exhaust fan. If you’re planning to do heavy overclocking, this setup will help pull hot air out of the case without creating negative pressure.
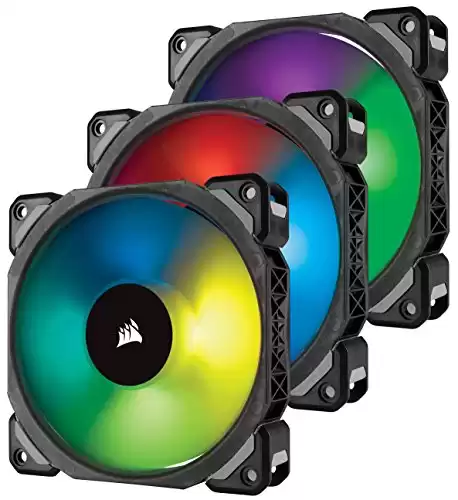
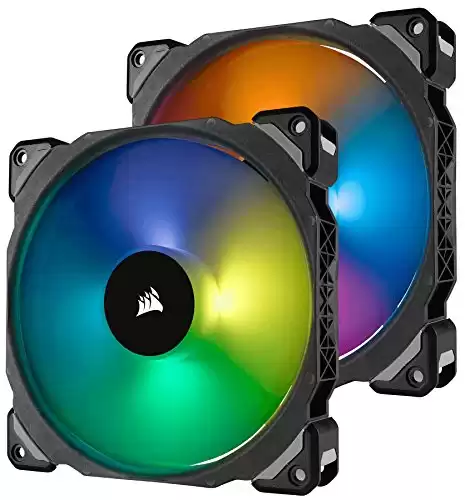
I replaced all four fans with Corsair ML series ones since they’re currently among the quietest at 25 decibels, not to mention the incredible RGB colors.
1- Meshify C Front Intake and Back Exhaust Fans
I own the Corsair ML120s and ML140s. They are top-of-the-line RGB fans, beautiful on their own, i.e., when I look at the back fan, and in groups, when I look at the ones in the front or the whole case.
Installation was very easy; just slide them into place where your old fans were, screw them in, but not too tightly so as not to damage them or the case, and plug in the 4-pin connector to an available header on your motherboard.
The fans also come with a hub that can be installed into a standard motherboard header and used if your motherboard does not support addressable RGB headers.
Then you’ll need to install CORSAIR LINK (included), which is really nice… it’s like CAM but by CORSAIR instead of NZXT.
With this program, you can set the colors/effects of each fan individually or all at once.
You can also change between modes like Breathing or Light Pulse, which sets it up to fade through your colors of choice… which is pretty cool to watch.
You can also set up the fans to respond to certain temps or change speeds depending on what you’re doing, like Gaming/General Use/Media Playback.
I opted to leave all mine at their default speeds and colors.
This is where the cabling gets a little messy: in order for the RGB to work, CORSAIR decided that it would be best if we plugged all of them into 1 4-pin wire that goes into an included “Link”, which then splits off into each individual fan… and you can’t detach them without having to carefully follow the cable to see which fan it belongs to, so decide where you want this 4-pin header to be located before installation.
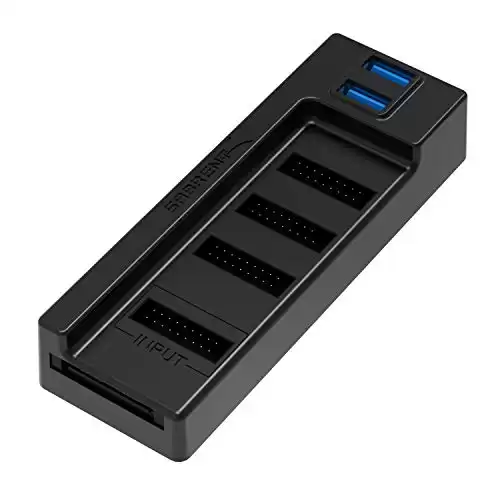
They also require SATA power, while the Link requires an additional USB 2.0 header, so you can actually control the RGB (doesn’t sound like much, but when you have 3 GPUs and a bunch of other hardware attached, your case may not have enough headers), to solve that IO problem I’m using an internal USB 3.0 hub.
So I had to remove my 2x front USB 3.0 headers and replace it with a single 2-pin USB 2.0 header that I had to add.
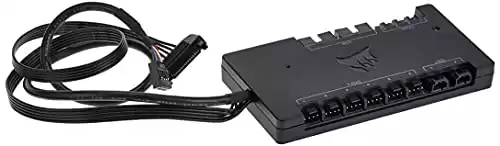
The cables are short, so you might just want to get the Corsair iCUE Commander PRO.
This device will allow you to control the fan speed through the iCUE software, so you can set them to increase in RPM as they become brighter, or decrease when they flash on peak; for example, the sky’s the limit when it comes to controlling colors and effects with these fans.
3- Top Exhaust Fan Setup for Your Meshify C Case
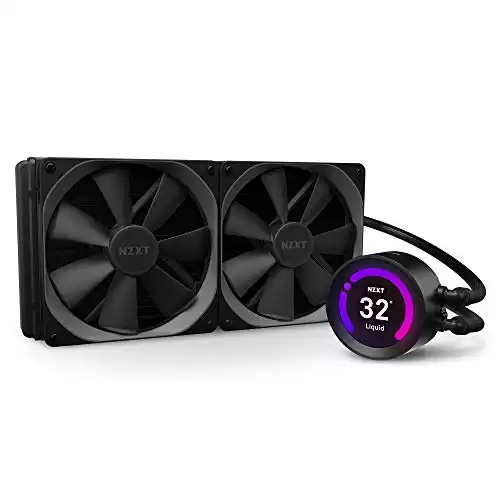
You should definitely opt for a water cooling loop for best performance; one of the best AIOs I’ve tested so far is the NZXT Kraken Z62 280mm; it comes with two replaceable stock fans, which you should swap out for two Noctua NF-A14 PWMs, or Corsair ML140s if you want RGB.
The AIO also offers a customizable 2,36″ LCD display to show you the current CPU temperature, or any image you choose, and it’s compatible with a vast array of CPU sockets like Intel’s LGA 1151, 1150, 1155, 1156, 1366, 2011, 2011-3, 2066, and on the AMD front AM4 and TR4 sockets; but you should note that the bracket is not included.

So far, I haven’t seen temperatures above 80°C, but I’m also using Thermal Grizzly’s Kryonaut Thermal Paste which goes perfectly with this AIO.
Be sure to only apply a small grain-sized drop onto your CPU’s heat spreader to avoid any overflow. So, no need to be overly generous with the application as less is definitely more!